Table of Contents
ToggleShipping containers aren’t just for hauling cargo anymore. These steel boxes, already engineered to withstand ocean voyages and stacked loads, are becoming a go-to foundation for tiny house builds. They’re modular, affordable, and widely available. Whether someone’s downsizing, building a backyard studio, or launching into off-grid living, container tiny houses offer a practical starting point. But converting a container into a livable home isn’t as simple as dropping in some furniture. It involves structural modifications, proper insulation, code compliance, and careful planning to turn industrial steel into comfortable square footage.
Key Takeaways
- A tiny house container built from repurposed 20-foot or 40-foot shipping containers offers a durable, modular, and cost-effective foundation for small living, with used containers typically priced between $1,500–$5,000 depending on condition.
- Proper insulation is non-negotiable for container homes; spray foam insulation (2–3 inches on walls, 4–5 inches on ceiling) is the most effective method to combat the steel’s aggressive heat and cold conduction.
- Local zoning and building codes vary significantly for container dwellings, so verifying permit requirements and inspection processes with your local building department before purchasing materials is critical.
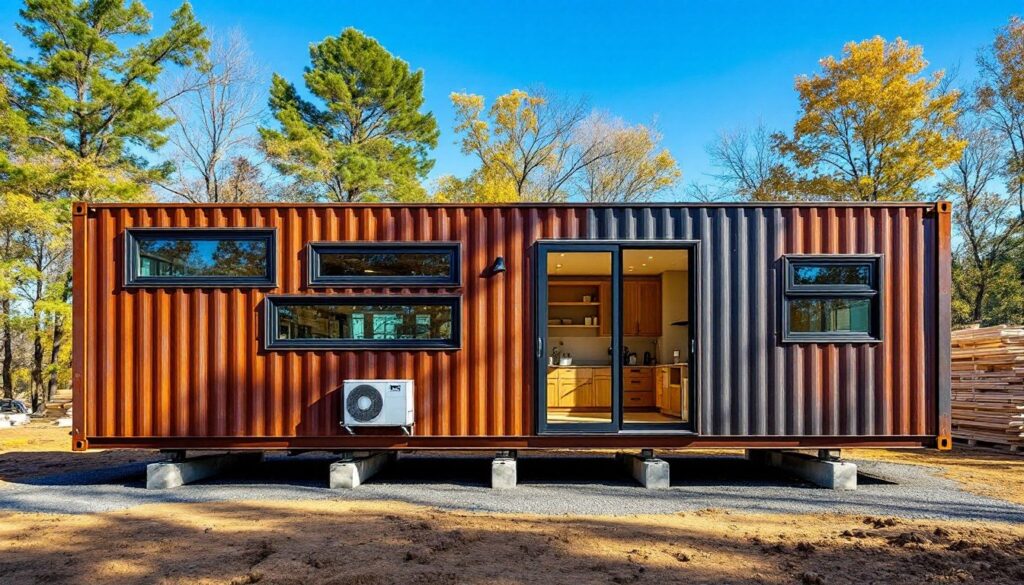
- High-cube containers add an extra foot of interior height (9.5 feet vs. 8.5 feet), significantly improving livability and eliminating the claustrophobic feel of standard container tiny houses.
- Container homes require professional structural modifications including welding, proper ventilation systems (exhaust fans and ERVs), and mini-split heat pumps to address moisture, thermal bridging, and climate control challenges.
- Maximizing functionality in container tiny homes depends on vertical space utilization (sleeping lofts), light-colored interiors, large windows, built-in storage, and open-plan layouts to avoid a cramped feeling.
What Is a Tiny House Container and Why Choose One?
A tiny house container is a dwelling built from one or more repurposed shipping containers, typically 20-foot or 40-foot standard ISO containers. These corrugated steel boxes measure 8 feet wide and 8.5 feet tall (exterior dimensions), with actual interior widths closer to 7 feet 8 inches due to wall thickness.
People choose container tiny houses for several practical reasons. First, the structural frame is already in place, containers are designed to bear 60,000+ pounds stacked, so they’re inherently strong. Second, they’re modular: builders can use one container for a compact studio or combine multiple units for more space. Third, availability is widespread. Retired containers (“one-trip” or “used” grades) are sold through dealers in most metro areas.
That said, containers aren’t a magic bullet. They require cutting, welding, and significant climate control work. The steel conducts heat and cold aggressively, so insulation is non-negotiable. Still, for someone willing to tackle or hire out the modifications, containers offer a robust shell at a predictable cost, typically $1,500–$5,000 per used container depending on condition and location.
Benefits of Building a Container Tiny House
Durability and weather resistance top the list. Corten steel (the alloy used in containers) resists corrosion and holds up in harsh climates. Unlike wood framing, it won’t rot, warp, or attract termites.
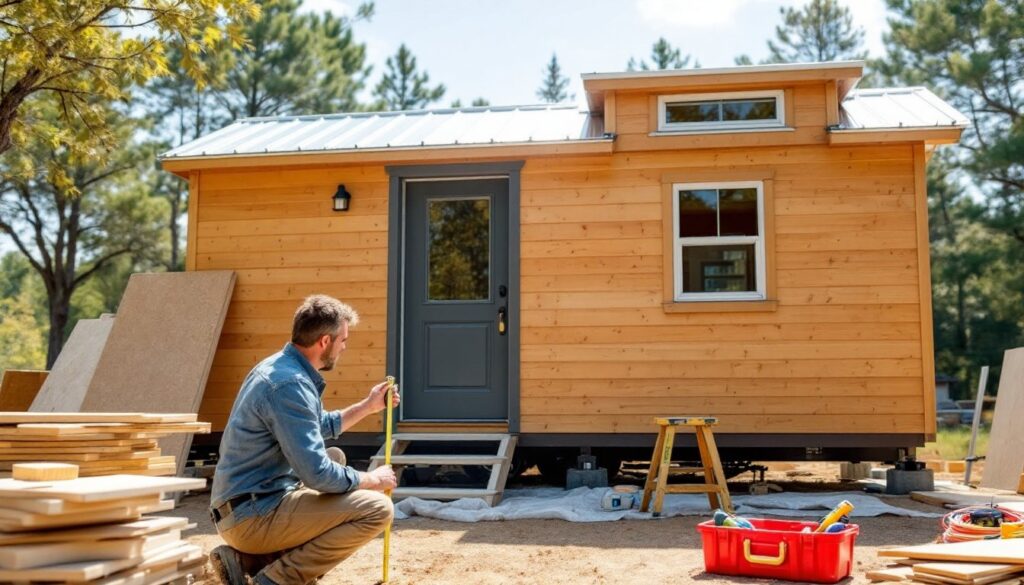
Speed of construction is another advantage. Because the shell arrives intact, builders skip framing walls and roofing from scratch. This can shave weeks or months off a build timeline, especially when custom tiny homes require extensive carpentry.
Eco-friendly reuse appeals to sustainability-focused builders. Repurposing a retired container diverts steel from the scrapyard and reduces demand for new materials. That said, the environmental math gets complex when factoring in insulation, HVAC, and transportation emissions, still, it’s generally a net positive compared to conventional stick-built homes.
Cost predictability is a practical benefit. A used container’s price is relatively stable, and the dimensions are standardized. This makes budgeting and material takeoffs simpler than dealing with custom lumber orders and dimensional lumber price swings.
Finally, containers are portable. Mounted on a trailer or lifted by crane, they can relocate if zoning changes or if the owner wants to move. This flexibility suits mobile tiny homes or temporary site placements like jobsite offices or guest quarters.
Types of Shipping Containers for Tiny House Projects
20-foot standard containers are the most common starting point for solo tiny house builds. They deliver about 160 square feet of floor space (internal dimensions roughly 19’4″ × 7’8″). That’s tight, but workable for a studio layout with combined living/sleeping areas, a compact kitchen, and a wet bath.
40-foot standard containers double the footprint to around 320 square feet. They allow for distinct zones, bedroom, living area, kitchen, and full bathroom, without feeling claustrophobic. They’re also available in high-cube variants, which add an extra foot of interior height (9.5 feet instead of 8.5 feet), a real advantage for taller ceilings or adding a sleeping loft.
High-cube containers (both 20′ and 40′) are worth the modest upcharge if headroom matters. Standard containers leave only about 7’10” of clear height after insulation and finish flooring. High-cubes push that closer to 8’10”, enough to avoid the cave-like feel.
One-trip vs. used vs. new: “One-trip” containers made a single voyage from the factory and are in near-new condition, minimal rust, intact paint. “Used” containers show wear (dents, surface rust, patched floors) but remain structurally sound and cost less. New containers are pricier and overkill for most DIY builds unless cosmetic perfection matters.
Avoid damaged or heavily corroded containers. Cutting out rusted floor sections or repairing buckled walls adds labor and cost that wipes out any savings. Inspect before buying: walk the interior, check for daylight through seams, and verify door operation.
Step-by-Step: Planning Your Container Tiny House Build
1. Check zoning and building codes. Not all jurisdictions allow container dwellings, and many that do classify them as permanent structures requiring permits, foundation plans, and inspections. Some areas restrict them to commercial or agricultural zones. Call the local building department before spending a dime.
2. Design the layout. Sketch floor plans to scale. Remember that cutting large openings (windows, doors, joining containers) weakens the structure, plan to reinforce with steel framing around cuts. Account for wall thickness after insulation: 3–4 inches per wall reduces usable width significantly.
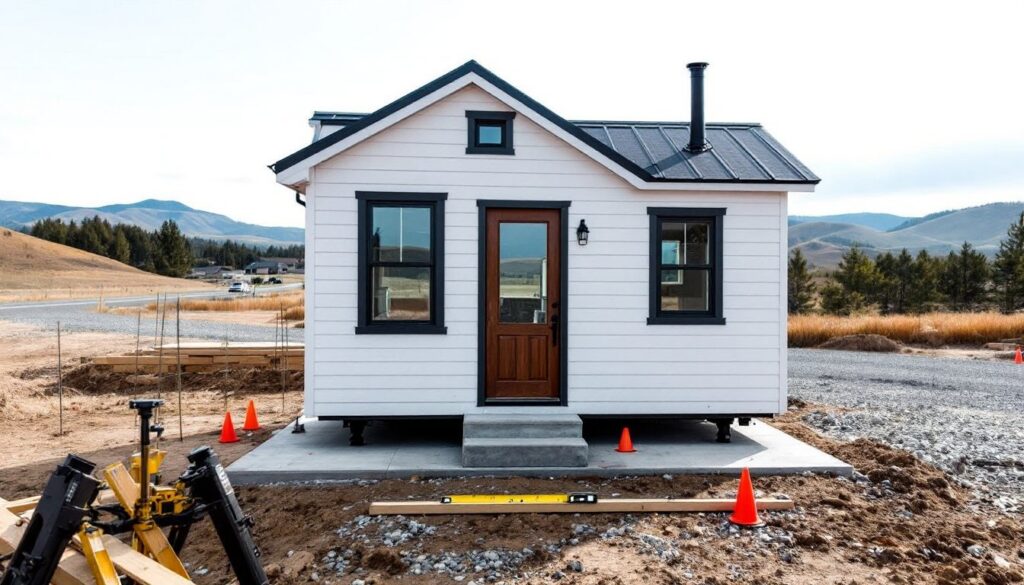
3. Site prep and foundation. Containers need level, solid support. Common foundations include concrete piers (affordable, quick), strip footings (more stable for frost-heave zones), or slab-on-grade (best for permanent installations). Ensure the foundation meets frost-depth requirements per local IRC codes.
4. Procure the container(s). Order from a reputable dealer. Request delivery on a tilt-bed truck if site access allows, or arrange a crane if setting on a tight lot. Confirm dimensions and condition on delivery, some dealers ship sight-unseen.
5. Structural modifications. This phase includes cutting door and window openings, welding in steel frames (typically 4″ × 4″ tube steel or C-channel), and joining containers if using multiples. Hire a certified welder if you’re not experienced: improper cuts can compromise the container’s load-bearing capacity. Wear cut-resistant gloves, safety goggles, and hearing protection when grinding or cutting.
6. Permits and inspections. Submit plans, pay fees, and schedule inspections at each phase (foundation, framing, electrical, plumbing, final). Skipping permits can result in fines and trouble selling or insuring the home. Many urban tiny homes face strict enforcement, so compliance isn’t optional.
Insulation, Climate Control, and Essential Modifications
Insulation is the most critical upgrade. Bare steel containers are thermal nightmares, scorching in summer, freezing in winter. The goal is to break thermal bridging and achieve at least R-13 to R-19 in walls and R-30+ in the ceiling.
Spray foam insulation (closed-cell polyurethane) is the most popular choice. It adheres directly to steel, seals air leaks, and delivers high R-value per inch (R-6 to R-7 per inch). Apply 2–3 inches on walls and 4–5 inches on the ceiling. Hire a licensed spray foam contractor, DIY kits rarely achieve proper density or coverage. Proper methods for insulating the underside can prevent moisture issues and improve thermal performance.
Rigid foam board (XPS or polyiso) is a budget alternative. Cut panels to fit between furring strips, tape seams with foil tape, then add an air gap and interior finish. This method is more labor-intensive but avoids the cost and fumes of spray foam.
Avoid fiberglass batts in direct contact with steel. Condensation will soak the batts, leading to mold and rust. If using batts, pair them with a vapor barrier and air gap.
Climate control: Mini-split heat pumps are the go-to HVAC solution for container homes. They’re efficient, don’t require ductwork, and handle both heating and cooling. Size appropriately, 9,000 to 12,000 BTU units work for most single-container builds. Ensure electrical service supports the load (typically a 20-amp, 240V circuit).
Ventilation and moisture control: Steel containers trap humidity. Install exhaust fans in the kitchen and bathroom (vented to the exterior), and consider an ERV (energy recovery ventilator) if the build is tightly sealed. Without ventilation, condensation will rust the steel from the inside.
Design Ideas and Interior Layout Tips for Container Tiny Homes
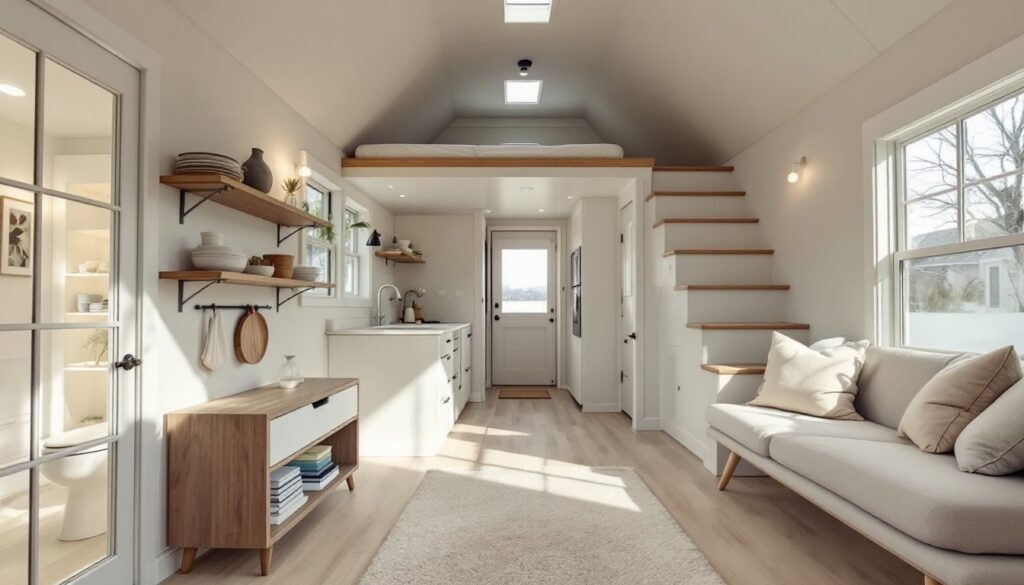
Maximize vertical space. High-cube containers allow for sleeping lofts above living areas or bathrooms, freeing floor space. Use a fixed ladder or alternating-tread stairs (which meet IRC codes and save space compared to standard stairs).
Light and openness matter. Containers feel narrow, so prioritize large windows and glass doors. A wall of sliding glass at one end visually expands the interior and connects to outdoor space. Paint interior walls white or light gray to bounce light. Design inspiration from small space living can help maximize functionality.
Built-in furniture and storage are essential. Custom benches with under-seat storage, fold-down tables, and wall-mounted desks keep the footprint tight. Avoid bulky freestanding furniture.
Open-plan layouts work best. Combining kitchen, dining, and living into one zone prevents the space from feeling chopped up. Use a sliding barn door or pocket door for the bathroom to save swing clearance.
Electrical and plumbing runs: Plan these early. Route plumbing through interior walls or a wet wall to avoid freezing. Run electrical in surface-mounted conduit (permitted in many jurisdictions for steel structures) or behind furring strips. Follow NEC codes for grounding, steel containers must be properly bonded.
Accessibility adaptations can make container homes more inclusive. Wider doorways (36 inches), zero-step entries, and roll-in showers fit naturally into container dimensions. For more guidance, explore tiny home accessibility design strategies.
Exterior finishes: Some owners leave the Corten steel exposed for an industrial look. Others clad with corrugated metal panels, fiber cement siding, or wood rainscreen. If painting steel, use a rust-inhibiting primer and exterior-grade topcoat. Trends in home design news often showcase creative container exterior treatments.
Conclusion
Container tiny houses aren’t a shortcut, but they are a proven platform for durable, efficient small living. Success hinges on thorough planning, proper insulation, code compliance, and realistic budgeting. Builders who respect the material’s quirks, thermal bridging, narrow widths, moisture risks, end up with a rugged, transportable home that can last decades. Whether it’s a backyard studio, a primary residence, or a tiny house garage conversion, containers offer a steel skeleton ready to be transformed.