Table of Contents
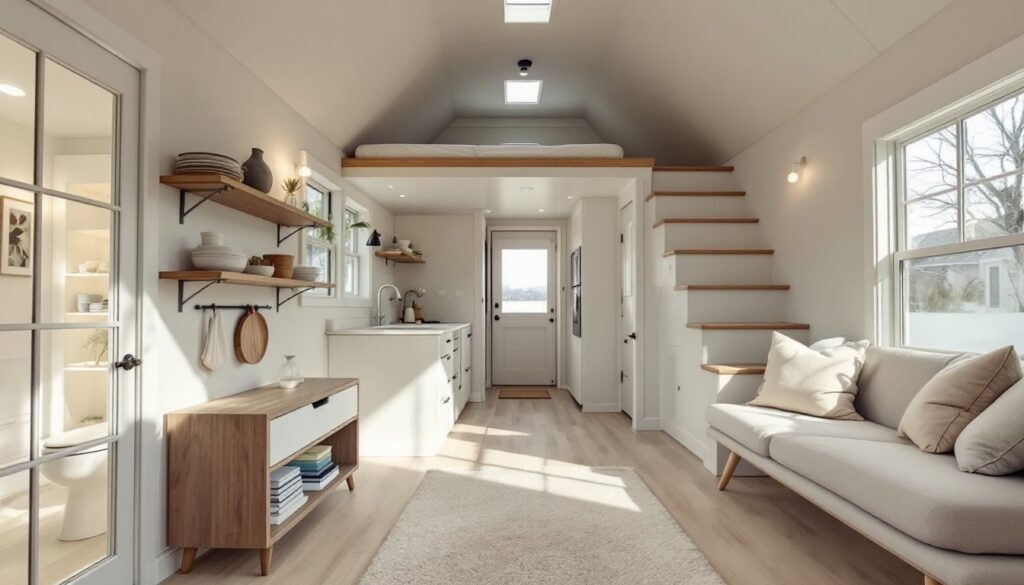
ToggleDesigning a single story 12×20 tiny house means fitting an entire home into 240 square feet, about the size of a modest bedroom. It’s a challenge, sure, but it’s also one of the most popular footprints in the tiny house movement for good reason. A single-level layout eliminates stairs, simplifies construction, and stays under most local trailer size restrictions if building on wheels. The key is not cramming everything in, but arranging zones strategically so each square foot earns its keep. With the right floor plan, a 12×20 tiny house can feel surprisingly spacious and livable.
Key Takeaways
- A 12×20 single story tiny house floor plan fits 240 square feet into a functional home that avoids costly multi-story complexity while meeting standard road trailer width restrictions.
- Every tiny house needs four essential zones—sleeping (60–80 sq ft), kitchen (40–60 sq ft), bathroom (15–35 sq ft), and living (60–90 sq ft)—sized proportionally to avoid wasted space.
- Choose between an open studio layout for maximum perceived space or a divided bedroom partition design for privacy; each approach requires strategic placement of doors, windows, and plumbing.
- Space-saving features like pocket doors, built-in furniture, elevated bed platforms with storage, and slim-profile appliances can effectively add functional square footage without expanding the footprint.
- Vertical storage, multi-function zones, and strategic mirror placement make a compact 12×20 layout feel surprisingly spacious and livable while keeping design and construction manageable.
Why 12×20 Is the Perfect Single Story Tiny House Footprint
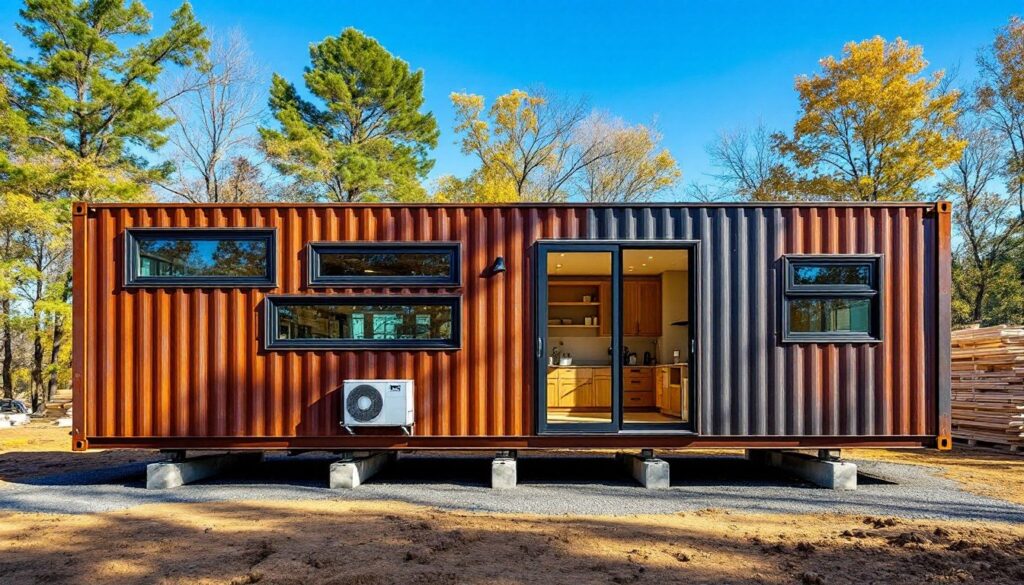
A 12×20 footprint hits a sweet spot between buildability and livability. The 12-foot width fits standard road trailers (most states allow up to 8.5 feet wide without an oversized permit, but towable tiny house trailers commonly extend to 10–12 feet with proper permitting). The 20-foot length keeps the structure manageable for one or two people to build and tow, while still offering enough run to create distinct living zones.
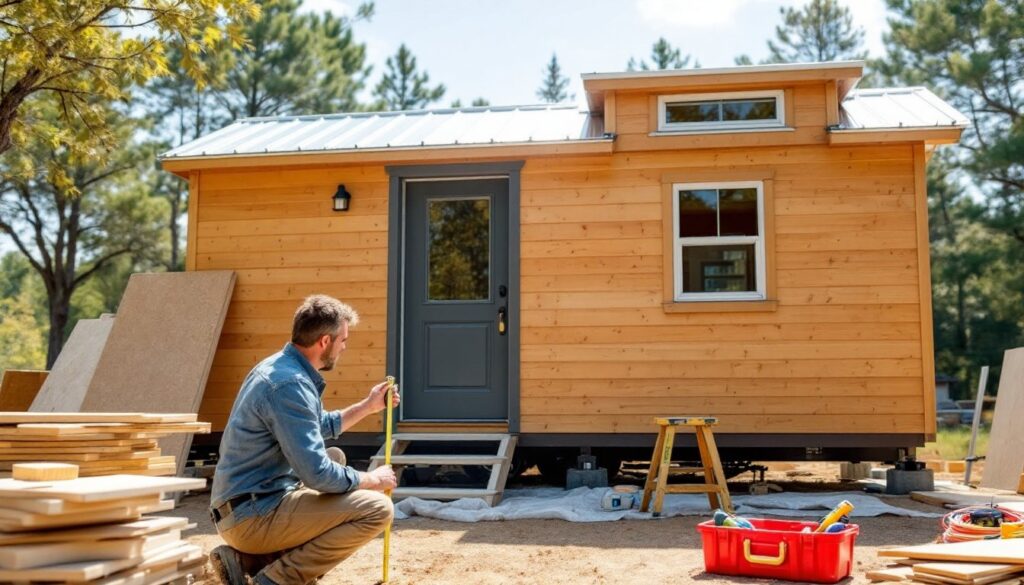
From a framing perspective, 12 feet spans cleanly with 2×6 or 2×8 floor joists at 16 inches on center without requiring a central beam, simplifying the subfloor layout. Wall studs remain straightforward, either 2×4 at 16 inches on center for non-load-bearing interior partitions, or 2×6 for exterior walls if adding extra insulation. Roof trusses or rafters for a 12-foot span are stock sizes at most lumber yards, cutting custom fabrication costs.
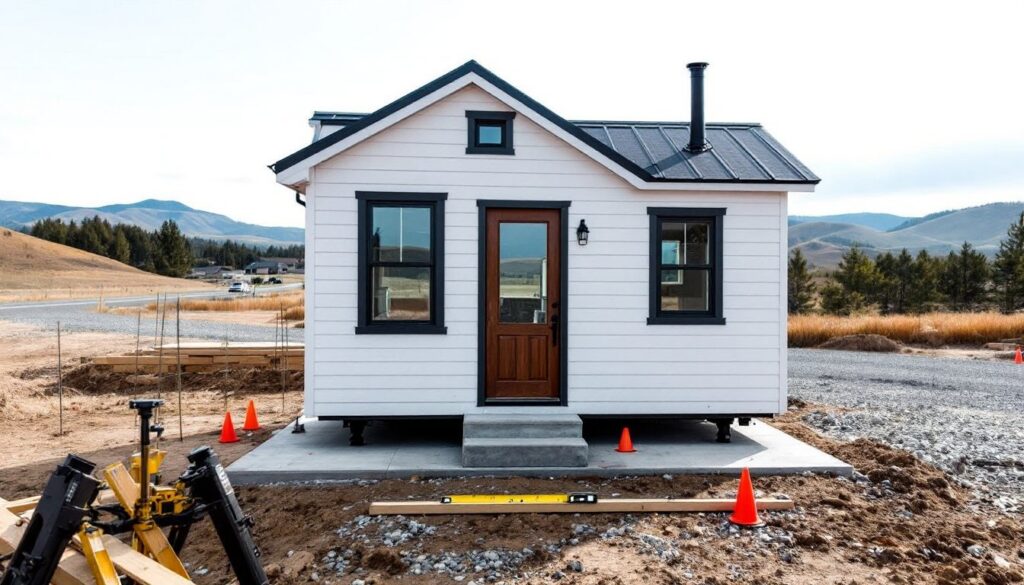
Staying single story also keeps the structure lower, reducing wind load and making it easier to meet height restrictions (most states cap towable tiny homes at 13.5 feet tall). There’s no loft ladder eating up floor space or creating accessibility issues, which makes this layout work for a wider range of occupants, including those with mobility concerns. If the tiny house sits on a permanent foundation, the single story design simplifies permitting, many jurisdictions treat single-level structures under 400 square feet as accessory dwelling units (ADUs) with fewer hoops to jump through than multi-story builds.
Finally, 240 square feet is small enough to heat and cool efficiently (a mini-split HVAC system rated for 9,000 BTU typically handles this square footage in most climates), but large enough to include a full kitchen, bathroom, sleeping area, and living space without everything feeling jammed together.
Essential Zones to Include in Your 240-Square-Foot Layout
Every functional tiny house needs four core zones: sleeping, cooking, bathing, and living. The trick is sizing them proportionally and positioning them to avoid dead space.
Sleeping area: Budget 60–80 square feet for a queen bed (60×80 inches actual) with enough clearance to make the bed and access storage underneath. Some builders tuck the bed into one end of the layout: others use a Murphy bed or convertible sofa to free up daytime floor space. Skip king beds, they don’t fit the proportions of a 12-foot-wide build without sacrificing walkways.
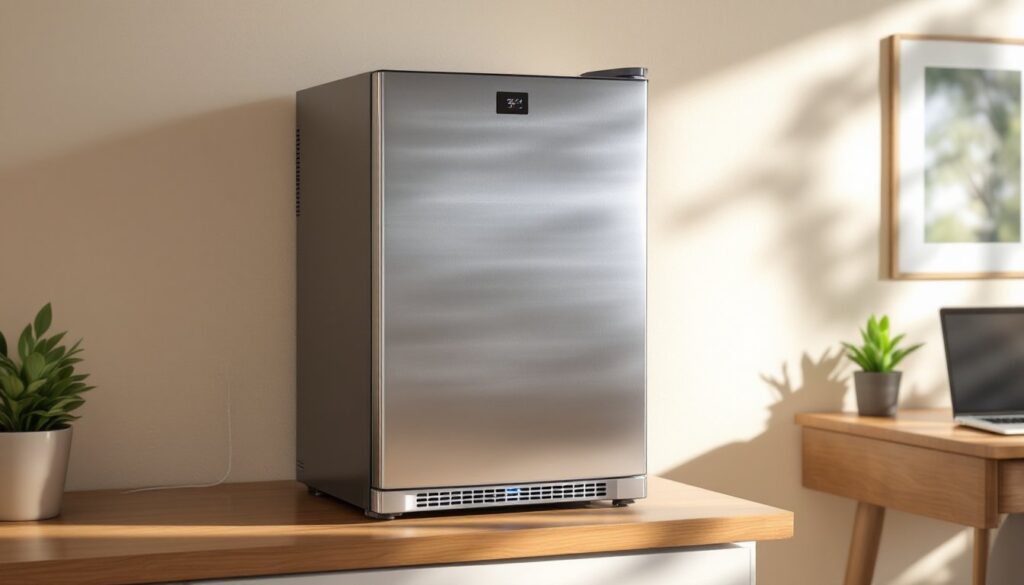
Kitchen zone: Allocate 40–60 square feet for a galley or L-shaped kitchen. Include an apartment-size refrigerator (around 10 cubic feet), a two-burner cooktop or 20-inch range, a small sink (15–20 inches), and 3–4 feet of counter workspace. Most tiny house kitchens use 12- to 18-inch-deep base cabinets instead of standard 24-inch depth to save floor space. Overhead cabinets can go to the ceiling (8 feet if using standard wall height) for maximum storage.
Bathroom: A wet bath (combined shower and toilet room) takes up 15–25 square feet, while a separated bathroom with a small shower stall runs 25–35 square feet. Use a 32×32-inch corner shower or a narrow 30×48-inch stall. Toilets can be standard flush (if connecting to sewer or septic), composting (Separett or Nature’s Head are common), or cassette style. Include a small vanity or wall-mounted sink: pedestal sinks look nice but waste storage potential underneath.
Living area: Whatever’s left, usually 60–90 square feet, becomes the multipurpose living zone. This is where a compact sofa, fold-down table, or built-in bench seating lives. Many designs integrate living and kitchen zones into one open space to avoid a chopped-up feel. Builders focused on tiny home accessibility design often widen doorways to 36 inches and design circulation paths at least 32 inches wide to accommodate mobility aids.
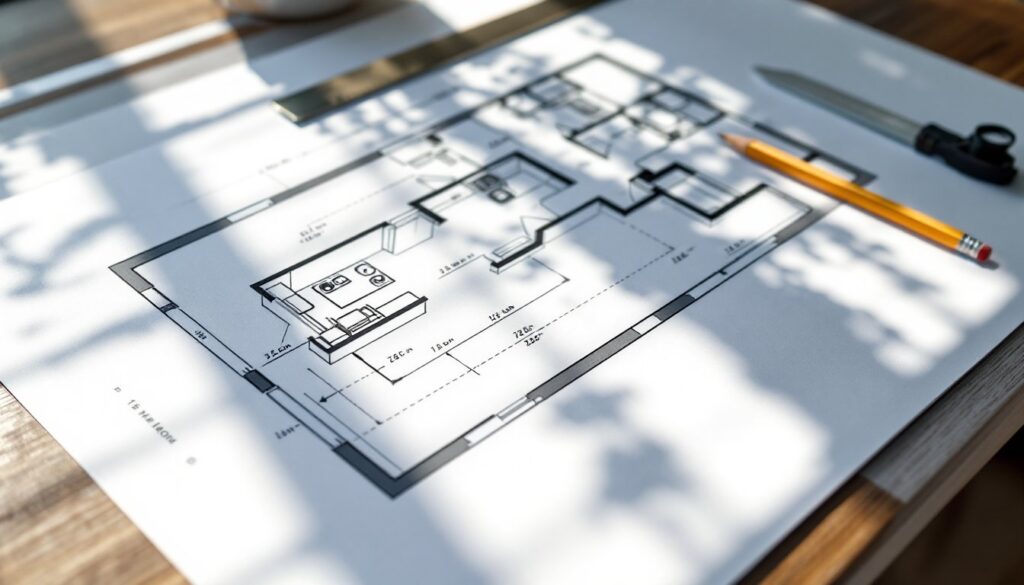
Popular 12×20 Single Story Floor Plan Configurations
Two layout strategies dominate 12×20 tiny house plans: fully open studio-style or partially divided with a bedroom partition. Each has trade-offs.
Open Concept Studio Layout
The studio layout treats the entire 240 square feet as one flowing space. The kitchen typically anchors one end (often the entrance end for plumbing access), the bathroom sits in a corner or along one long wall, and the sleeping area occupies the opposite end. There are no full-height interior walls except around the bathroom.
This configuration maximizes perceived space and natural light flow. Windows on all four walls (within structural limits) keep sightlines open. The downside: zero privacy if two people share the space, and the bed is always visible. Storage becomes critical, most studio layouts rely on built-in cabinetry along walls, under-bed drawers, and overhead shelving to avoid clutter creep.
A typical studio floor plan might look like this: entrance with a 36-inch door on the 12-foot wall, galley kitchen immediately inside running 6–8 feet along one long wall, bathroom (wet bath style, 5×5 feet) in the back corner, living area in the middle with a loveseat or futon, and a queen bed platform at the far end with storage underneath. Dimensions stay flexible, but maintaining a clear 3-foot walkway down the center keeps traffic flow comfortable.
Divided Space with Bedroom Partition
Adding a partial or full wall to separate the sleeping area creates a more traditional one-bedroom feel. The partition can be a floor-to-ceiling wall with a pocket door (saves swing clearance), a half-wall (42–60 inches tall) that preserves light and airflow, or even a sliding barn door on a rail.
This layout usually places the bedroom in the back third of the house (roughly 8×12 feet, or 96 square feet), leaving the front two-thirds (12×12, or 144 square feet) for kitchen, living, and bath. The bedroom fits a queen bed, a narrow wardrobe or hanging rod, and a small nightstand. A window at the end wall helps ventilation and avoids a cave-like feel.
The main area becomes a combined kitchen-living zone. Some plans position the bathroom between the bedroom and living space to act as a sound buffer, with doors opening to each zone. Others tuck the bath along one exterior wall to simplify plumbing runs.
One consideration: any interior partition counts as a wall and needs basic framing, 2×4 studs at 16 or 24 inches on center, finished with drywall, shiplap, or plywood paneling. If the wall is load-bearing (rare in a 12-foot-wide single story, since the roof usually spans the full width), consult local building codes for header and stud sizing. Many custom tiny homes use movable partitions or curtain dividers to keep flexibility without permanent changes.
Space-Saving Design Features That Maximize Every Square Inch
Smart design moves can add functional square footage without expanding the footprint. Here are proven strategies:
Built-in furniture: Fixed benches, fold-down tables, and Murphy beds eliminate the need for freestanding pieces that eat up floor space. A wall-mounted drop-leaf table (24×36 inches when open, 6 inches deep when folded) provides dining for two without a permanent footprint. Built-in bench seating with lift-top storage does double duty. Free furniture plans are available for compact pieces like fold-down desks and storage cubes that fit tiny house proportions.
Vertical storage: Use wall height aggressively. Install cabinets or open shelving to 8 feet (or to the ceiling if higher). Pegboard or slat wall along one section lets you hang bikes, tools, or kitchen gear without drilling new holes every time needs change. In the kitchen, a magnetic knife strip and hanging pot rack free up drawer and cabinet space.
Multi-function zones: Design each area to serve two purposes. A kitchen island can double as a dining table or workspace. A living room bench can include pull-out drawers for clothing. The bathroom vanity can house a washer-dryer combo underneath (compact 24-inch ventless models fit in about 34 inches of height). Builders creating a tiny home for families often add a convertible sofa or bunk system that folds away during the day.
Pocket and sliding doors: Standard swing doors require clearance radius, a 30-inch door needs about 7 square feet of swing space. Pocket doors slide into the wall cavity (requires 2×6 wall framing for the track) or barn-style sliding doors mount on surface track and save all that swing area. Use them for the bathroom and bedroom to reclaim usable floor space.
Raised platform storage: Elevating the bed on a platform 18–24 inches high creates a massive storage zone underneath for bins, drawers, or even a washer. Some designs use a platform stair system with each tread doubling as a pull-out drawer. Small-space design resources like Apartment Therapy showcase dozens of under-bed and platform build-outs.
Bump-outs and dormers: If building codes and trailer width allow, a small bump-out (12–18 inches deep, 3–4 feet wide) can add a breakfast nook, desk alcove, or extra closet without increasing the main footprint. This involves cantilevering floor joists slightly and extending the roofline, so check load calculations and local rules. Advanced framing techniques are covered in detail by resources like Fine Homebuilding.
Slim-profile fixtures and appliances: Swap standard 24-inch-deep counters for 18-inch-deep base cabinets. Use a 24-inch electric or propane range instead of 30 inches. Install a corner sink to free up linear counter runs. Choose a narrow refrigerator (24 inches wide or less). In the bathroom, a wall-hung toilet (like a Toto or Duravit model) saves about 6 inches of depth compared to a floor-mount tank toilet and makes floor cleaning easier.
Natural light and mirrors: Large windows (within wall framing limits, don’t compromise structural headers) and strategically placed mirrors make spaces feel larger without adding square footage. A full-length mirror on a closet door or bathroom wall visually doubles the room depth. Egress windows (required for sleeping rooms per IRC if on a foundation) should be at least 5.7 square feet of openable area with a minimum 24-inch height and 20-inch width, these let in significant light while meeting code.
Conclusion
A well-designed 12×20 single story tiny house proves that 240 square feet can hold a complete, comfortable home when every inch is planned with purpose. Whether going with an open studio or a divided bedroom layout, the key is balancing function, flow, and storage without overcomplicating the build. Stick to proven dimensions, use vertical space, and design for how the space will actually be lived in, not just how it photographs. For those ready to explore shared living models, joining a tiny house community can provide support, shared resources, and a built-in neighborhood.