Table of Contents
ToggleInstalling a tiny refrigerator isn’t a complex project, but choosing the right one and placing it properly requires understanding capacity, ventilation, and electrical requirements. These compact appliances range from 1.7 cubic feet dorm models to 4.5 cubic feet countertop units, and they’re not just for college students anymore. Homeowners use them in home offices, garages, craft rooms, basement bars, and master bedroom sitting areas. This guide covers the practical considerations, from BTU ratings and defrost mechanisms to circuit requirements and clearance specs, so anyone can select and install a tiny refrigerator that fits their space and cooling needs.
Key Takeaways
- A tiny refrigerator under 5 cubic feet requires proper ventilation, adequate electrical circuits, and clearance specifications to ensure safe and efficient operation in home offices, garages, bedrooms, or entertainment spaces.
- Choose between thermoelectric units for silent operation in climate-controlled rooms, compressor-based mini fridges for reliable cooling in any environment, or compact refrigerators with freezers for maximum versatility.
- Manual defrost units save 10-15% on energy costs but require periodic maintenance, while auto-defrost models offer convenience at the expense of higher electricity consumption.
- Tiny refrigerators operating in climate-controlled spaces average $32-48 annually to run, with Energy Star-certified models saving approximately $80-120 over a 10-year lifespan compared to standard units.
- Maintain efficiency by cleaning condenser coils every 3-6 months, inspecting door gaskets monthly, and ensuring the unit is level and properly leveled to prevent cold air loss and compressor strain.
- Placement significantly impacts performance—avoid direct sunlight and hot garages, maintain 1-2 inches of space between stored items for airflow, and use rubber mats or vibration pads to reduce noise transmission in bedrooms or offices.
What Is a Tiny Refrigerator and Who Needs One?
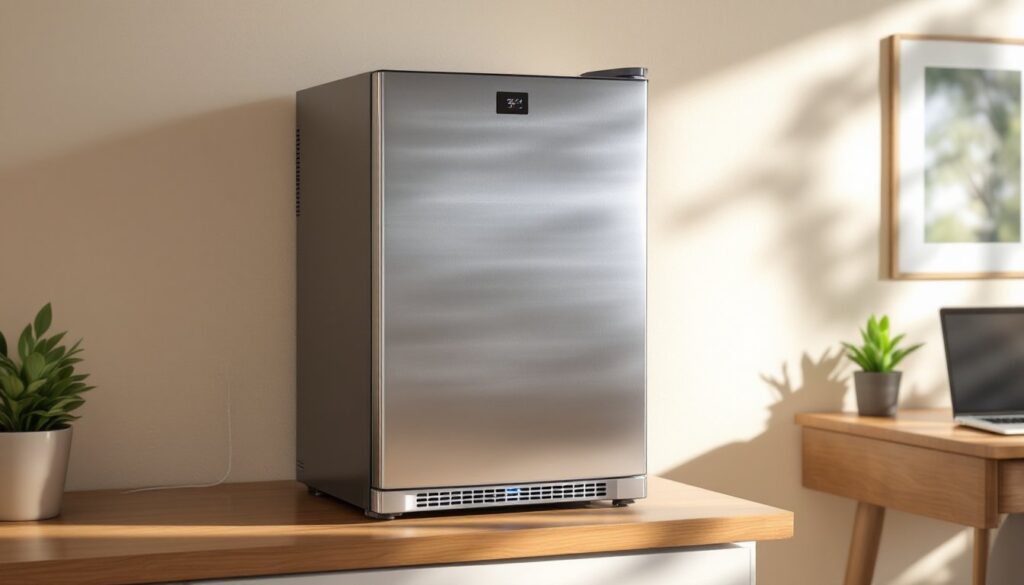
A tiny refrigerator is any cooling unit under 5 cubic feet in capacity, typically standing 20 to 34 inches tall and drawing between 70 and 150 watts. They’re categorized by internal volume, not exterior dimensions, which is why a 3.2 cubic foot model from one manufacturer may be shorter than a competitor’s 2.8 cubic foot unit.
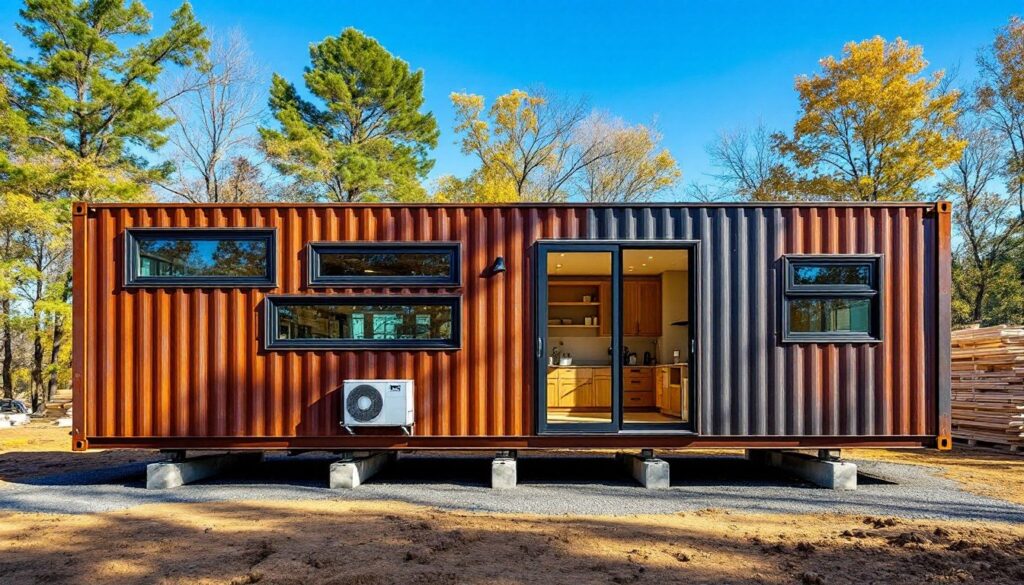
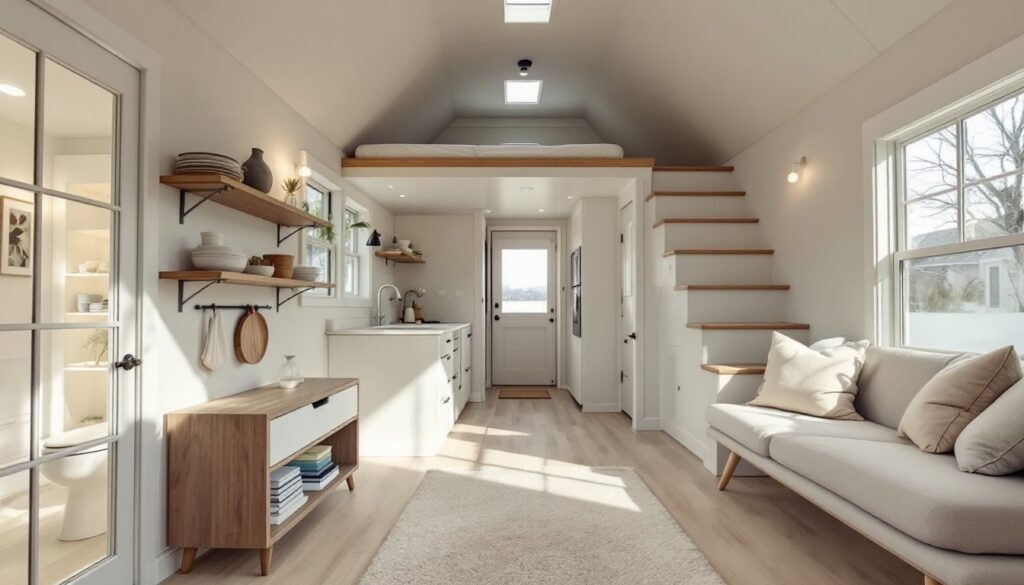
These appliances serve distinct use cases. Homeowners add them to home offices to eliminate mid-day kitchen trips, saving time during deep work sessions. Garage workshops benefit from dedicated beverage cooling without tracking sawdust into the house. Master bedrooms with sitting areas use them for early morning coffee creamer or late-night water bottles. Basement entertainment spaces keep drinks cold during movie nights without requiring a full-size appliance.
From an installation perspective, most tiny refrigerators plug into standard 120V, 15-amp circuits. But, garage installations may require GFCI-protected outlets per NEC code, and unfinished basements might need dedicated circuits if the existing wiring already carries significant load. Anyone adding one to a space should verify the circuit can handle the additional draw, especially if power tools or other high-draw devices share the same breaker.
Types of Tiny Refrigerators for Different Spaces
Tiny refrigerators fall into three functional categories: thermoelectric units, compressor-based mini fridges, and compact refrigerators with freezers. Thermoelectric models use Peltier plates instead of refrigerant, making them silent and vibration-free but limited to cooling 20-40°F below ambient temperature. They work in climate-controlled rooms but struggle in hot garages or uninsulated spaces.
Compressor-based units operate like full-size refrigerators, maintaining consistent temperatures regardless of room conditions. They cycle on and off, creating some noise (typically 35-45 decibels), but they handle ambient temperatures up to 110°F, making them suitable for garages and outdoor kitchens. Most include adjustable shelves and door storage.
Compact refrigerators with separate freezer compartments offer the most versatility but sacrifice refrigerator space. A 3.1 cubic foot model might allocate 0.5 cubic feet to the freezer, leaving only 2.6 cubic feet for fresh storage. The freezer sections in budget models often can’t maintain true 0°F freezing: they’re better for ice packs and short-term frozen food storage than long-term freezing.
Mini Fridges vs. Compact Refrigerators
The industry uses these terms inconsistently, but the practical difference comes down to door configuration and interior layout. Mini fridges typically feature a single door with a small freezer compartment inside (often just a metal box with no separate door). Compact refrigerators usually have two doors, a separate freezer door and refrigerator door, and stand taller, ranging from 32 to 34 inches.
For installation purposes, compact refrigerators require more vertical clearance and often need 2-3 inches of top clearance for condenser ventilation, per manufacturer specs. Mini fridges are more forgiving with placement but still need rear clearance (usually 1-2 inches) to prevent compressor overheating. Check the manual before building any enclosures or sliding them into tight built-in spaces.
Key Features to Consider When Choosing a Tiny Refrigerator
Defrost mechanism matters more than most buyers realize. Manual defrost units require unplugging and draining every few months as frost builds up on the evaporator coils. Auto-defrost models use heating elements to melt frost automatically, draining into a pan beneath the unit. Manual defrost is more energy-efficient but demands maintenance: auto-defrost is hands-off but uses 10-15% more energy.
Adjustable thermostats vary widely in quality. Budget models often use numbered dials (1-5) without corresponding temperatures, making precise cooling guesswork. Mid-range units include calibrated dials showing actual temperature ranges. For spaces storing medication or temperature-sensitive materials, invest in a model with a digital display and ±2°F accuracy.
Reversible doors simplify installation in tight spaces. Most tiny refrigerators allow door hinge reversal using basic tools, typically a Phillips screwdriver and a 5/16-inch socket wrench. The process takes 15-20 minutes and involves moving the door handle and hinge pins to the opposite side. Not all models offer this: confirm before purchasing if the space dictates a specific door swing.
Interior capacity and layout require more thought than just reading cubic footage. Wire shelves are standard but allow spills to drip down. Glass shelves contain spills but reduce vertical space for tall items. Measure beverage containers, food storage bins, or whatever will be stored most frequently, then compare against interior height specifications (not just total volume). A recent appliance roundup highlights models with customizable shelf configurations.
Compressor noise levels matter in quiet spaces like bedrooms or offices. Specifications list noise in decibels, but real-world performance depends on installation surface. A unit on a solid countertop transmits less vibration than one on a hollow cabinet base. Rubber grommets or vibration-damping pads (available at any hardware store) reduce noise transfer by 5-10 decibels in many installations.
Best Placement Ideas for Tiny Refrigerators in Your Home
Home offices benefit from under-desk or cabinet-top placement. For under-desk installation, measure the unit’s height plus required top clearance (typically 26-30 inches total) against the desk’s underside clearance. Ensure the door can open fully without hitting chair arms or legs. Route the power cord through a cable management channel or against the wall to prevent tripping.
Garage workshops require GFCI outlets and protection from temperature extremes. Most compressor units handle down to 50°F ambient without issue, but check the manual’s operating range. In unheated garages where winter temperatures drop below freezing, the refrigerator may stop cooling properly or the compressor may fail to start. Some manufacturers void warranties if units are operated outside specified temperature ranges.
Bedroom installations need attention to noise and drainage. Place the unit on a low-pile rug or rubber mat to dampen vibration. Avoid locations near bed headboards where compressor cycling disrupts sleep. If the model has an auto-defrost drain pan underneath, place a folded towel beneath it: a leaking drain pan can damage hardwood or carpet.
Built-in cabinet installations require front ventilation or modified cabinets. Standard kitchen cabinets don’t provide adequate airflow: the refrigerator needs exhaust space for heat dissipation. Either select a model designed for built-in use (with front-venting grilles) or cut ventilation holes in the cabinet back and top. Without proper airflow, the compressor runs continuously, shortening its lifespan and increasing energy use.
Basement bars and entertainment areas work well if the floor is level and the space stays dry. Use a bubble level to check the installation surface: an unlevel refrigerator won’t cool evenly and the door may not seal properly. Most units have adjustable feet: turn them to level the appliance within 1/4 inch. For damp basements, elevate the unit on a plastic platform or treated lumber to prevent moisture wicking into the bottom panel.
Energy Efficiency and Cost Savings
Tiny refrigerators cost between $20 and $60 annually to operate, depending on size, usage, and local electricity rates. A 3.0 cubic foot Energy Star-certified unit running in a room at 70°F typically draws 200-300 kWh per year. At the national average of $0.16 per kWh, that’s roughly $32-48 annually.
Energy Star certification indicates the unit meets EPA efficiency standards, using at least 10% less energy than non-certified models. For a refrigerator running 24/7, that difference compounds. Over a 10-year lifespan, an Energy Star model saves approximately $80-120 compared to a standard unit, enough to offset a modest price premium.
Placement affects energy consumption significantly. Units in hot garages or direct sunlight work harder to maintain temperature, increasing energy use by 20-40%. Similarly, overstocking reduces airflow around food items, forcing longer compressor run times. Maintain 1-2 inches of space between stored items for optimal circulation.
Thermostat settings also impact costs. Each degree below necessary cooling adds approximately 5% to energy use. For beverage cooling, 38-40°F is adequate: there’s no benefit to running at 32-34°F unless storing highly perishable items. Use a refrigerator thermometer (available for under $10) to verify actual interior temperature rather than relying on unmarked dials.
Modern appliances with smart features can track energy usage in real-time, though most tiny refrigerators don’t include advanced connectivity. For monitoring older units, plug-in energy meters (costing $20-30) measure actual consumption, helping identify inefficient operation before it shows up on the electric bill.
Maintenance Tips to Keep Your Tiny Refrigerator Running Smoothly
Condenser coil cleaning should happen every 3-6 months, more frequently in dusty environments like workshops. Unplug the unit and locate the coils (usually on the back panel or underneath). Use a coil brush (available at hardware stores for $8-12) or a vacuum with a brush attachment to remove dust buildup. Dirty coils reduce cooling efficiency by 25-35% and force the compressor to run longer.
Door seal inspection prevents cold air loss. Close the door on a dollar bill: if it pulls out easily, the gasket needs attention. Clean gaskets with warm water and mild detergent every few months to remove sticky residue that prevents proper sealing. For damaged gaskets, replacement parts are available from manufacturers, typically costing $25-50 and installing with a Phillips screwdriver in about 30 minutes.
Interior cleaning requires non-abrasive methods. Remove shelves and wash with dish soap and warm water. Wipe interior walls with a solution of 1 tablespoon baking soda per quart of water, it cleans without leaving chemical odors that can transfer to food. Avoid harsh chemicals like bleach or ammonia: they can damage plastic components and leave persistent smells.
Defrosting manual-defrost units before frost exceeds 1/4 inch thickness maintains efficiency. Thicker frost acts as insulation, reducing cooling capacity. Unplug the unit, remove contents, and place towels underneath to catch melt water. Speed the process by placing bowls of hot water inside (never use sharp objects to chip ice: they can puncture coils). Resources about kitchen appliance care offer additional techniques.
Drain pan maintenance applies to auto-defrost models. The pan sits beneath the unit, collecting condensation. It evaporates under normal conditions, but in humid environments it can overflow. Pull the refrigerator away from the wall every few months and check the pan. If it contains standing water, wipe it clean to prevent mold growth.
Leveling checks should occur annually. Floors settle, and vibration can shift adjustable feet over time. Use a bubble level on top of the unit: adjust the feet until level both front-to-back and side-to-side. A level refrigerator cools more efficiently and the door closes properly under its own weight.
Power supply verification prevents unexpected failures. Test the outlet with a circuit tester (available for under $15) to ensure proper grounding. For units in garages or basements, verify the GFCI outlet functions by pressing the test button monthly. A tripped GFCI can shut down a refrigerator without the homeowner realizing it, spoiling contents. Keeping up with general appliance reviews and maintenance trends helps identify common issues before they become failures.